Contents
Here we list all Casting GD&T Charts covering all geometric tolerances (straightness, flatness, roundness, parallelism, perpendicularity tables)!
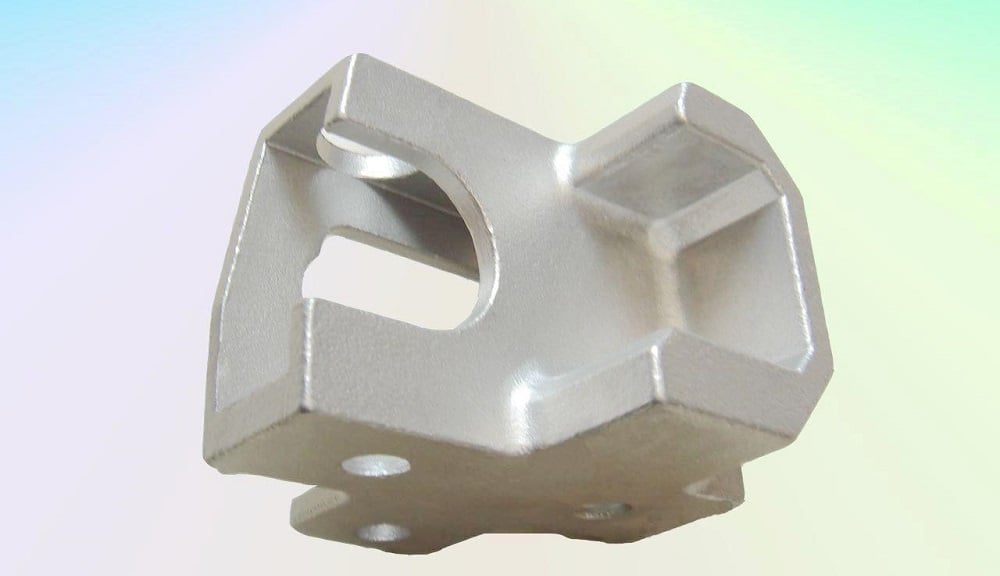
Casting Geometric Tolerance Charts
In metal casting and manufacturing, maintaining tight tolerances is crucial for ensuring the quality and functionality of cast parts. Casting tolerances define the allowable variation in dimensions and geometries of a cast part. Common casting tolerances specify limits on straightness, flatness, roundness, parallelism, and perpendicularity. Exceeding these tolerances can lead to problems assembling or fitting together cast components. This article provides comprehensive casting tolerance charts covering key geometrical tolerances for cast parts. The tables define standard tolerance grades for straightness, flatness, roundness, parallelism, and perpendicularity of castings made from various metal alloys. Understanding these standard tolerance values can help engineers and manufacturers design and produce precision metal cast parts that fall within acceptable variation limits. Referring to these casting tolerance charts helps ensure cast parts meet functionality and quality requirements.
What are Casting Tolerances?
Casting tolerances refer to the allowable deviation or variation in dimensions and other characteristics of a cast part. These tolerances are defined to ensure that the final cast product meets the desired specifications and functional requirements. Casting tolerances can vary depending on factors such as the casting method, material, size, and specific application. It is common for casting tolerances to be specified using industry standards, engineering drawings, or customer requirements, and they typically take into account factors like part geometry, material shrinkage, tooling capabilities, and manufacturing processes.
Casting Geometric Tolerance Grade
Casting geometric tolerance grade refers to the level of permissible variation in the dimensions and geometric features of a casting part. It is defined by a standard set of symbols and values known as geometric dimensioning and tolerancing (GD&T). The casting geometric tolerance grade specifies the allowable tolerance limits for various aspects such as size, form, orientation, and position of features on the casting. These tolerances help ensure that the casting meets the desired design requirements and can function properly in its intended application.
Casting GD&T Grades
|
Methods |
Geometric Tolerance Grades |
||||||||
|
Carbon steel |
Gray cast iron |
Ductile cast iron |
Malleable cast iron |
Copper alloys |
Zinc alloys |
Soft metal alloys |
Nickel-based alloys |
Tool steel alloys |
|
|
Sand casting Manual molding |
6-8 |
5-7 |
5-7 |
5-7 |
5-7 |
5-7 |
5-7 |
6-8 |
6-8 |
|
Sand casting Machine molding and shell molding |
5-7 |
4-6 |
4-6 |
4-6 |
4-6 |
4-6 |
4-6 |
5-7 |
5-7 |
|
Metal casting (excluding pressure casting) |
– |
– |
– |
– |
3-5 |
– |
3-5 |
– |
– |
|
Pressure casting |
– |
– |
– |
– |
2-4 |
2-4 |
2-4 |
– |
– |
|
Investment casting |
– |
3-5 |
3-5 |
3-5 |
3-5 |
2-4 |
3-5 |
– |
– |
The values in this table generally apply to castings with nominal sizes larger than 25mm. For smaller-sized castings, the following finer dimensional tolerances are typically guaranteed:
1) For castings with a nominal size ≤ 10mm, the precision level is increased by three levels.
2) For castings with a nominal size between 100mm and 16mm, the precision level is increased by two levels.
3) For castings with a nominal size between 16mm and 25mm, the precision level is increased by one level.
Casting Tolerance Charts (Casting GD&T Tables)
Casting tolerances are the acceptable deviations from the desired dimensions and properties of a casting. These tolerances are specified by the designer or engineer and are used to ensure that the final product meets the required specifications.
There are several types of casting tolerances, including:
Casting Straightness Tolerance (mm)
|
Nominal Size |
GCTG and Corresponding Straightness Tolerance |
|||||||
|
> |
= |
CGTG2 |
CGTG3 |
CGTG4 |
CGTG5 |
CGTG6 |
CGTG7 |
CGTG8 |
|
– |
10 |
0.08 |
0.12 |
0.18 |
0.27 |
0.4 |
0.6 |
0.9 |
|
10 |
30 |
0.12 |
0.18 |
0.27 |
0.4 |
0.6 |
0.9 |
1.4 |
|
30 |
100 |
0.18 |
0.27 |
0.4 |
0.6 |
0.9 |
1.4 |
2 |
|
100 |
300 |
0.27 |
0.4 |
0.6 |
0.9 |
1.4 |
2 |
3 |
|
300 |
1000 |
0.4 |
0.6 |
0.9 |
1.4 |
2 |
3 |
4.5 |
|
1000 |
3000 |
– |
– |
– |
3 |
4 |
6 |
9 |
|
3000 |
6000 |
– |
– |
– |
6 |
8 |
12 |
18 |
|
6000 |
10000 |
– |
– |
– |
12 |
16 |
24 |
|
Casting Flatness Tolerance
|
Nominal Size |
GCTG and Corresponding Flatness Tolerance |
|||||||
|
> |
= |
CGTG2 |
CGTG3 |
CGTG4 |
CGTG5 |
CGTG6 |
CGTG7 |
CGTG8 |
|
– |
10 |
0.12 |
0.18 |
0.27 |
0.4 |
0.6 |
0.9 |
1.4 |
|
10 |
30 |
0.18 |
0.27 |
0.4 |
0.6 |
0.9 |
1.4 |
2 |
|
30 |
100 |
0.27 |
0.4 |
0.6 |
0.9 |
1.4 |
2 |
3 |
|
100 |
300 |
0.4 |
0.6 |
0.9 |
1.4 |
2 |
3 |
4.5 |
|
300 |
1000 |
0.6 |
0.9 |
1.4 |
2 |
3 |
4.5 |
7 |
|
1000 |
3000 |
– |
– |
– |
4 |
6 |
9 |
14 |
|
3000 |
6000 |
– |
– |
– |
8 |
12 |
18 |
28 |
|
6000 |
10000 |
– |
– |
– |
16 |
24 |
36 |
56 |
Casting Roundness, Parallelism, Perpendicularity, and Symmetry Tolerance
|
Nominal Size |
GCTG and Corresponding Geometric Tolerance |
|||||||
|
> |
= |
CGTG2 |
CGTG3 |
CGTG4 |
CGTG5 |
CGTG6 |
CGTG7 |
CGTG8 |
|
– |
10 |
0.18 |
0.27 |
0.4 |
0.6 |
0.9 |
1.4 |
2 |
|
10 |
30 |
0.27 |
0.4 |
0.6 |
0.9 |
1.4 |
2 |
3 |
|
30 |
100 |
0.4 |
0.6 |
0.9 |
1.4 |
2 |
3 |
4.5 |
|
100 |
300 |
0.6 |
0.9 |
1.4 |
2 |
3 |
4.5 |
7 |
|
300 |
1000 |
0.9 |
1.4 |
2 |
3 |
4.5 |
7 |
10 |
|
1000 |
3000 |
– |
– |
– |
6 |
9 |
14 |
20 |
|
3000 |
6000 |
– |
– |
– |
12 |
18 |
28 |
40 |
|
6000 |
10000 |
– |
– |
– |
24 |
36 |
56 |
80 |
Casting Concentricity Tolerance
|
Nominal Size |
GCTG and Corresponding Concentricity Tolerance |
|||||||
|
> |
= |
CGTG2 |
CGTG3 |
CGTG4 |
CGTG5 |
CGTG6 |
CGTG7 |
CGTG8 |
|
– |
10 |
0.27 |
0.4 |
0.6 |
0.9 |
1.4 |
2 |
3 |
|
10 |
30 |
0.4 |
0.6 |
0.9 |
1.4 |
2 |
3 |
4.5 |
|
30 |
100 |
0.6 |
0.9 |
1.4 |
2 |
3 |
4.5 |
7 |
|
100 |
300 |
0.9 |
1.4 |
2 |
3 |
4.5 |
7 |
10 |
|
300 |
1000 |
01.4 |
2 |
3 |
4.5 |
7 |
10 |
15 |
|
1000 |
3000 |
– |
– |
– |
9 |
14 |
20 |
30 |
|
3000 |
6000 |
– |
– |
– |
18 |
28 |
40 |
60 |
|
6000 |
10000 |
– |
– |
– |
36 |
56 |
80 |
120 |
Related Articles:
 What is Cast Iron – Properties, Types, Usage in CNC Machining, Differences from Steel
 Investment Casting Overview: Principle, Process, Features & Everything About Investment Casting
 Investment Casting vs. Sand Casting: Progress, Material, Surface Finish, Dimension, Cost Differences
 What Are Causes Of Pitting Defects In Investment Casting & How To Fix
 Straightness vs Flatness – Difference Between Flatness and Straightness
 Basics of Investment Casting – How to Do Investment Casting | CNCLATHING

