- Home
- Machining techniques
- CNC Machining Services
- Cooperative supply services
- Designs
- Materials
- Finishing Services
- Shop
- Products
- Guide
- About Us
- Contact Us
2022.6.16
Both aerospace and medical devices have made great efforts to promote the development of EDM on-line measurement, because factories in these industries need to operate in strict accordance with the requirements of Process Certification. During this process, they must record all manufacturing and machining processes including wire EDM machining.
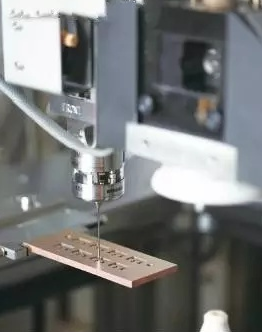
For medical device manufacturers, EDM wire cutting can meet the needs of precise processing of increasingly small batch and complex shape workpieces, while aviation manufacturers use EDM wire cutting to cut large-size heavy-duty complex components. However, taking these types of workpieces off the machine tool for inspection and verification significantly increases the risk of errors, thus prolonging the whole processing cycle of the parts.
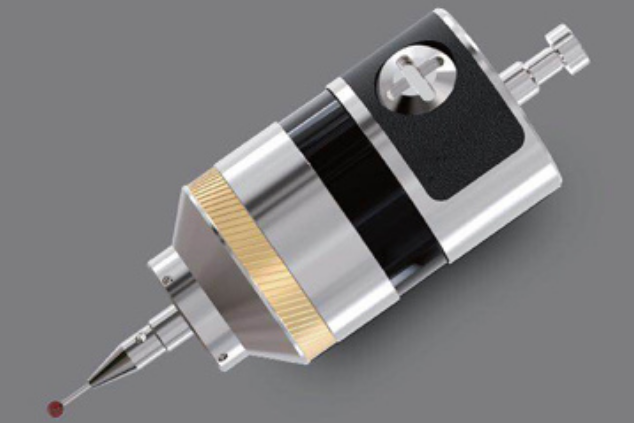
After the EDM wire cutting machine is equipped with an on-line measuring device, the factory can inspect and confirm the parts before and after EDM processing without removing the parts from the machine. Similarly, the recently developed EDM wire cutting machine contact probe online measurement system enables the machine tool to read probe data and understand logic statements. This means that the machine tool can measure the cut parts that fill the workbench, identify those parts that can be removed within the tolerance range, and return those parts that need to be re cut to meet the tolerance requirements. In addition, after the pneumatic chuck is installed to clamp the contact probe in the future, the whole process may not need the intervention of the operator.
It should be noted that, in fact, EDM wire cutting machine can always carry out on-line detection by using the electric pulse of wire electrode material. However, when the machine tool uses this electrode wire for measurement, the factory can only make limited measurements, such as finding the center, edge and corner. This process cannot identify the straightness of the wall or measure other contours of the part.
Similarly, with electrode wire measurement, there will be a gap between the probe (electrode wire) and the workpiece, so that electric sparks can be generated during contact. The accuracy of this detection method is quite high (up to ± 0.0001 “), but there will be other variables, such as burrs, dirt on the parts and other particles that may fall between the electrode wire and the workpiece, which will bias the results and cause reading errors.
For precision industrial processing, the factory mainly uses EDM wire cutting on-line measurement to verify the cutting correctness of the workpiece and meet the contour reference points of key components. Unfortunately, it is not possible to use EDM electrode wire as a probe at this detection / measurement level, mainly because the electrode wire can only measure the highest point of the component contour.
In addition, even though this advanced detection can be realized by using electrode wire probe, this measurement method is not acceptable in the aviation and medical fields. This is mainly because when measuring key components, the electrical pulse / spark generated by EDM electrode wire will form a mark on the components, thus affecting the integrity of the components. On the other hand, using the traditional probe of round sapphire ball, the contact point will be very small and will not cause any damage to the workpiece. Moreover, because the contact point is very small, the possibility of just touching the residue or obstacles is also very low.
In addition to the strict requirements of the aviation and medical industries, due to the natural limitations of EDM electrode wire detection, many EDM manufacturers strive to develop new products and combine the accurate contact probe into the EDM wire cutting process. In addition, there is no new idea to combine on-line contact detection with traditional tool machines or even Cinque EDM, but it is a new ability to use it in EDM. All the individual technical components required to complete the task are available, but it will take years of development to accurately know how to integrate this probe into EDM wire cutting for effective on-line contact measurement.
EDM OEM manufacturers have overcome two major obstacles. One is the mechanical problem, that is, how to assemble the fixture to clamp the probe on the EDM head; In terms of control, the function of the probe must be integrated with the CNC system of the machine tool.
Most EDM heads are not designed to support a large amount of weight. Assembling the actual tool fixture on one side of the head will produce imbalance, which will affect EDM wire cutting. Fortunately, some brands, such as the EDM wire cutting machine launched by GF Archie Shamir, have a very solid head and can assemble fixtures without sacrificing the performance of the machine tool.
Another mechanical problem is the need to be able to servo drive the z-axis, which is not required in EDM wire cutting. Online contact measurement requires that the machine can be driven by z-axis servo, so that the probe can measure the workpiece downward and exit upward after completion. However, the most important thing is that this method can be used to measure and record any point along the Z axis, and the wall thickness can be measured in this way.
Most EDM and OEMs can solve this problem by configuring the z-axis servo drive capability on the equipment. Because many of these manufacturers have developed servo drive systems for Cinque EDM, they have a wide understanding of these z-axis systems and how to use detectors. In addition, the existing knowledge is also helpful to apply the traditional measurement technology to the CNC system of EDM wire cutting machine.
The on-line contact measurement technology requires that the CNC system of EDM wire cutting machine has the ability to compensate the position of two different center lines between the contact probe and the machine head. Many machines in the industry have this compensation capability, so it is not a problem. After calibration, the control system of the machine can accurately know the center line of the spark wire and the center position of the detector on the X-Y axis. When the detector enters the position for measurement, the control system can compensate for this distance. For the EDM WEDM on-line measurement control system, the main challenge is that the equipment lacks a specific cycle when measuring the key points of the component contour.
The solution is to use macro program B programming in the control system of the machine. This program commands the machine to move according to the specified position, measure on the X, y and Z axes, and collect the data of the key points that are not related to the EDM WEDM process. Using the detected data, the machine can generate a report by mathematical equation to verify whether the actual positioning of components before cutting is correct. The report also shows that after cutting, the dimensions or tolerances of the key points of the components to be measured meet the requirements.
EDM can process conductive materials with any hardness, and the machining accuracy can reach 0.001mm without mechanical action. Because of this characteristic, EDM has become one of the key technologies in mold and tool manufacturing. The height logic in this system not only makes the user know that the parts have been cut according to the specified dimensions and can be removed, but also the machine can self correct according to the measured data. This capability of the machine can be regarded as the most significant achievement, which will have a significant impact on “unmanned” production, and will continue to promote the development of EDM wire cutting online measurement demand.
At present, the mechanical fixture is generally installed manually to hold the on-line measuring probe of EDM wire cutting machine. However, after the pneumatic chuck is adopted, the robot can be used to replace the tool to automatically load and unload the detector onto the EDM wire cutting machine.
In addition to contact measurement, there are other online measurement methods. Such as optical system. It does not “touch” the part, but records the image of the part for inspection. Such a system is particularly advantageous for components that need to measure fine parts in the field of precision manufacturing. With the optical system, the manufacturer can measure the components conveniently and quickly. In front of the optical system, a very complex and sophisticated fixture is configured to clamp the components for accurate measurement. In addition, it is necessary to determine the position of parts, and EDM electrode wire measurement will take longer than the actual cutting of parts.
Both optical and mechanical systems have their own advantages. The optical system can quickly measure the cut parts (300 points / second), while the probe measurement method needs to actually move and touch those measurement points. However, the probe measurement method can measure the cavities at the top, middle and bottom of the component. The optical system can only record two-dimensional images of components, and cannot measure parts such as angled side walls.
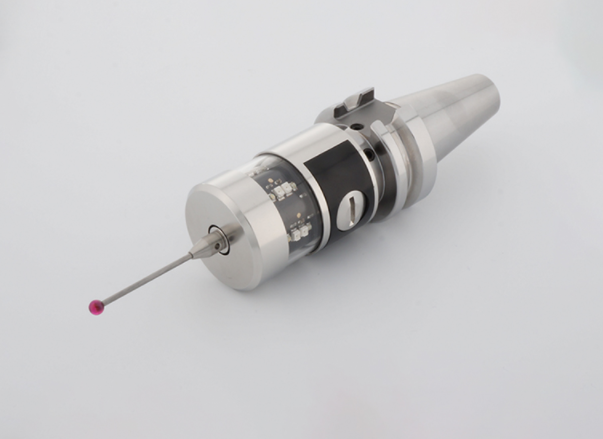 Installation Tips Of Workpiece Probe In CNC Machine | CNCLATHING
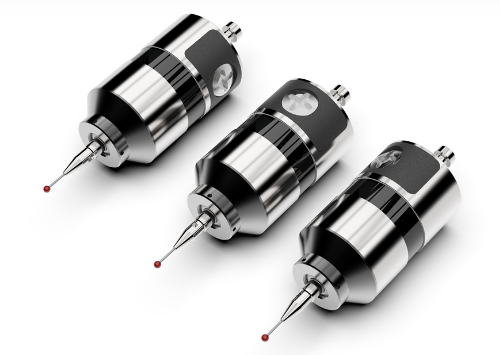 Probe Selection Guide & Tips – How To Choose Probe For CNC Machine
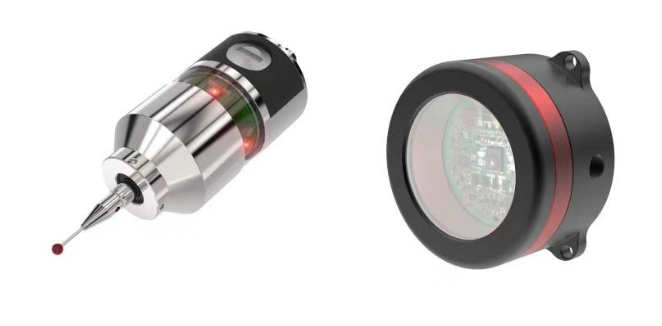 Method For Measuring Trigger Probe In 5 Axis Machining | CNCLATHING
 Why Do You Install Probe On CNC Machine – Function & Effect, Advantages Of Probe Installation
 Development And Application Of Intelligent Machine Probe | CNCLATHING
 What is Tool Setter – CNC Tool Setter Types, Cost, Work Principle & How To Use
