There are many ways to convert a 3D drawing to a 2D drawing in AutoCAD. Here are some common methods and detailed steps.
1. Use section view and projection
Open the 3D drawing: First, open the 3D drawing file that needs to be converted.
Select the section view tool:
– In the AutoCAD interface, select the “3D Modeling” option.
– Click the downward triangle under the “UCS Icon” in the upper right corner and select the “From Model Space” option.
– Use the “Live Section” command to create 2D cross-sections of the 3D part on a plane. You can select one of the basic coordinate system’s main planes as the plane for the live section.
Set the section parameters:
– Outline the contour of the section view.
– Call the section fill command and separately set the needed parameters, such as the style of the section line and the spacing.
Adjust the viewpoint and position:
– After importing the 3D model, adjust the viewpoint and position to ensure that all details are clearly displayed.
Create the 2D view:
– In the “Tools” menu, select “Customization” to call up the related commands.
– Select the viewport option in the view and then select three viewports, so the 3D graphics will appear as the same 3D graphics in three interfaces.
– Convert the first graphic interface to the primary view, and then click on the second view and make the corresponding adjustments.
Save and export:
– After setting up the three views and isometric drawing, save it as another *.DWG or *.DXF format.
– Finally, save and export to the required 2D drawing format.
2. Use the “3D Polyline to 2D Polyline” command
– Open your drawing file.
– Click the “Modify” tab in the toolbar, then select the “3D Polyline to 2D Polyline” command from the “Design” panel.
– Enter “FLATTEN” at the command line and press Enter.
– Select the 3D polyline you want to convert. You can select multiple polylines using object selection methods.
– Press Enter to confirm the conversion.
3. Use the FLATSHOT command
– Open the 3D model: First, open the 3D model you want to convert to a two-dimensional view.
– Set the view direction: Use view controls or the view cube to set the desired direction of the 3D model.
– Enter the FLATSHOT command: Enter the “FLATSHOT” command at the command line, then press the spacebar or Enter to confirm.
– Select options: In the FLATSHOT dialog box that pops up, you can select different options:
– Destination: Choose to insert the generated 2D projection as a new block (Block).
– Hidden line style: You can choose to change hidden lines to dashed lines to generate projections in three directions within the existing XY plane.
– Generate 2D projection: Confirm all settings and the FLATSHOT command will project all 3D entities and regions onto the XY plane and generate a block form 2D representation. This block can then be exploded for further editing.
– Edit the 2D projection: The inserted 2D projection block can be edited on the XY plane, including adding 2D objects.
– Save or export: If needed, the generated 2D view can be saved as a separate drawing file or inserted into the current drawing.
4. Configure a DXB plotter
– Open the application menu: Sequentially click “Application” > “Print” > “Manage Plotters” in the application menu.
– Add plotter wizard: Find and double-click the shortcut icon for the “Add Plotter Wizard”.
– Select my computer: In the “Start” dialog, select “My Computer” and then click “Next”.
– Select manufacturer and model: In the “Plotter Models” dialog, select “AutoCAD DXB File” under “Manufacturer”. Select “DXB File” under “Model”.
– Import PCP or PC2 file (optional): On the “Import PCP or PC2 page page”, click “Import File” and select a PCP or PC2 file to import (if needed). Then click “Import” and “Next”.
– Select port: On the “Ports” page, select “Plot to File” and then click “Next”.
– Complete configuration: Follow the prompts to complete the remaining steps until the plotter configuration is complete.
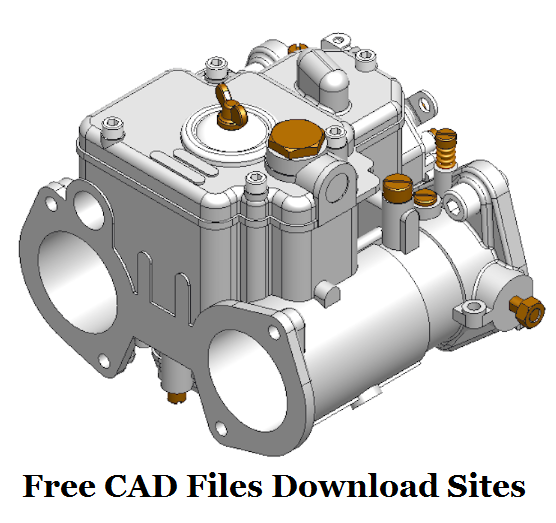 Best 8 Design Libraries & Sites for Free CAD Files Download – How to Get Free 3D CAD Models | CNCLATHING
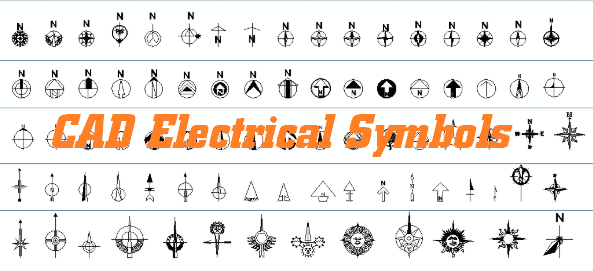 CAD Electrical Symbols Blocks | CAD Electrical Drawings Free Download | CNCLATHING
 Types of CNC File Formats – Best CAD File Format for CNC Machining & 3D Printing
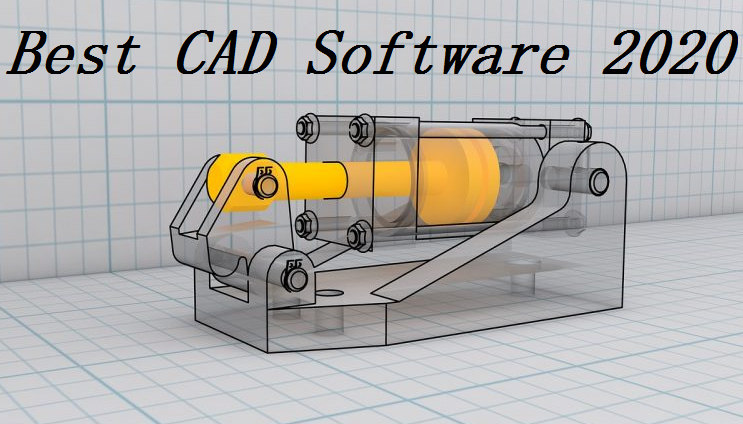 Best Free/Paid CAD Software 2020 for Beginners and Professionals in CNC Machining and 3D Modeling| CNCLATHING
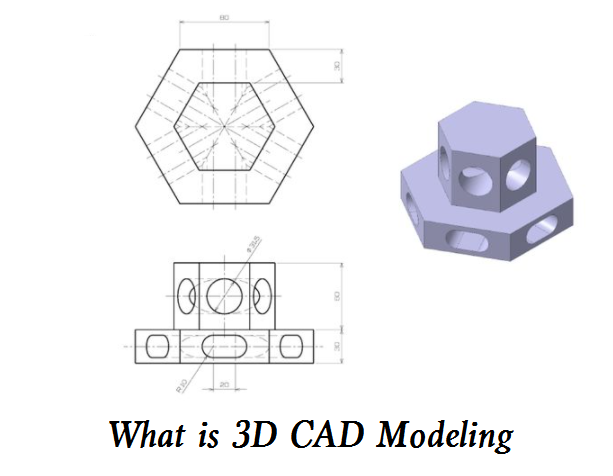
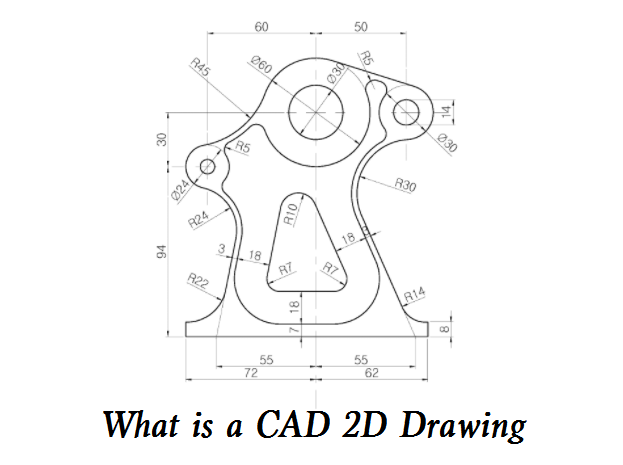 What is a CAD 2D Drawing and How to Make It? – Pros and Cons of 2D Drawing
 CNC Machining Center Vs CNC Mill – Difference Between Machining Center And Milling Machine In Programming
