- Home
- Machining techniques
- CNC Machining Services
- Cooperative supply services
- Designs
- Materials
- Finishing Services
- Shop
- Products
- Guide
- About Us
- Contact Us
2022.8.29
Machining center accuracy detection can be divided into positioning accuracy and repeated positioning accuracy. The positioning accuracy detection method is introduced here. The movement of the CNC machine tool is realized by digital program instructions, so the positioning accuracy depends on the CNC system and mechanical transmission error. The movement of the moving parts of the machine tool is completed under the control of the numerical control device. The accuracy of the moving parts under the control of the program instructions directly reflects the accuracy of the machining parts. Therefore, the positioning accuracy is a very important detection content.
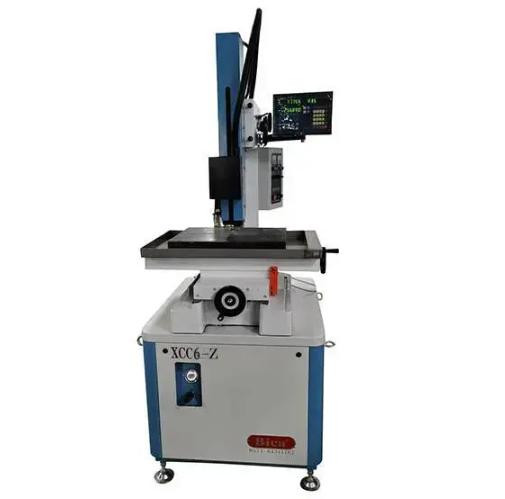
There are the following methods to detect the positioning accuracy of machining center:
1. Linear motion positioning accuracy detection
The positioning accuracy of linear motion is generally carried out under no-load condition of machine tool and workbench. According to the national standards and the provisions of the international organization for Standardization (ISO standards), the detection of CNC machine tools shall be subject to laser measurement. In the absence of a laser interferometer, a standard scale and an optical reading microscope can also be used for comparison measurement for ordinary users. However, the accuracy of the measuring instrument must be 1-2 levels higher than the measured accuracy.
In order to reflect all errors in multiple positioning, the ISO standard stipulates that each positioning point is a positioning point dispersion band composed of the average value and dispersion-3 dispersion band calculated according to the five measurement data.
2. Accuracy detection of linear motion repetitive positioning
The instruments used for detection are the same as those used for detecting the positioning accuracy. The general detection method is to measure at any three positions close to the midpoint and both ends of each coordinate stroke. Each position is positioned by rapid movement, and the positioning is repeated 7 times under the same conditions. The value of the stop position is measured and the maximum difference of readings is calculated. One half of the maximum difference among the three positions is attached with positive and negative symbols as the repeated positioning accuracy of the coordinate, which is the most basic index to reflect the stability of axis motion accuracy.
3. Accuracy detection of zero point return of linear motion
The return accuracy of the origin is essentially the repetitive positioning accuracy of a special point on the coordinate axis, so its detection method is completely the same as the repetitive positioning accuracy.
4. Reverse error detection of linear motion
The reverse error of linear motion, also known as loss of momentum, includes the reverse dead zone of the driving parts (such as servo motor, servo hydraulic motor and stepping motor) on the coordinate axis feed transmission chain, and the comprehensive reflection of the errors such as the reverse clearance and elastic deformation of each mechanical motion transmission pair. The larger the error, the lower the positioning accuracy and the repeat positioning accuracy.
The detection method of reverse error is to move forward or backward a distance in advance within the stroke of the measured coordinate axis and take the stop position as the reference, then give a certain movement command value in the same direction to move it for a distance, and then move the same distance in the opposite direction to measure the difference between the stop position and the reference position. Perform multiple measurements (generally 7 times) at three positions near the midpoint and both ends of the stroke, and find the average value at each position, and take the maximum value of the obtained average value as the reverse error value.
5. Positioning accuracy detection of rotary table
The measuring tools include standard turntable, angle polyhedron, circular grating and collimator, which can be selected according to specific conditions. The measurement method is to make the workbench rotate forward (or backward) by an angle and stop, lock and position, and then use this position as the reference, and then quickly rotate the workbench in the same direction, lock and position every 30 seconds for measurement. The forward rotation and reverse rotation shall be measured for one cycle respectively. The maximum value of the difference between the actual rotation angle and the theoretical value (command value) of each positioning position is the indexing error. If it is a numerical control rotary table, take every 30 as a target position, and conduct rapid positioning for each target position for 7 times from the forward and reverse directions. The difference between the actual position and the target position is the position deviation, and then calculate the average position deviation and standard deviation according to the method specified in gb10931-89 evaluation method for position accuracy of digital control machine tools, The difference between the maximum value of all average position deviations and standard deviations and the minimum value of all average position deviations and standard deviations is the positioning accuracy error of the CNC rotary table.
Considering the actual use requirements of the dry-type transformer, it is generally necessary to focus on the measurement of several right angle bisectors such as 0, 90, 180 and 270, and the accuracy of these points is required to be improved by one level compared with other angular positions.
6. Repeated indexing accuracy detection of rotary table
The measurement method is to repeat the positioning for 3 times at any three positions within a circle of the rotary table, and then test them respectively under the rotation in the forward and reverse directions. The maximum indexing accuracy of the difference between all read values and the theoretical value of the corresponding position. If it is a numerical control rotary table, take one measurement point every 30 as the target position, and conduct five rapid positioning for each target position from the positive and negative directions. Measure the difference between the actual position and the target position, i.e. the position deviation. Then calculate the standard deviation according to the method specified in gb10931-89. The maximum value of the standard deviation of each measurement point is 6 times, which is the repeated indexing accuracy of the numerical control rotary table.
7. Accuracy detection of zero point return of rotary table
The measurement method is to perform one origin reset from seven arbitrary positions, measure their stop positions, and take the maximum difference read as the origin reset accuracy.
It should be pointed out that the existing positioning accuracy is measured under the condition of fast and positioning. For some CNC machine tools with poor feed system speed, different positioning accuracy values will be obtained when positioning with different feed speeds. In addition, the measurement results of positioning accuracy are related to the ambient temperature and the working state of the coordinate axis. At present, most CNC machine tools adopt semi closed-loop system, and most of the position detection elements are installed on the drive motor. It is not surprising that an error of 0.01 ~ 0.02mm is generated within 1m travel. This is the error caused by thermal elongation. Some machine tools use the method of pre stretching (pre tightening) to reduce the impact.
The repeated positioning accuracy of each coordinate axis is the most basic accuracy index reflecting the axis, which reflects the stability of the movement accuracy of the axis. It is impossible to imagine that the machine tool with poor accuracy can be stably used in production. At present, due to more and more functions of the numerical control system, the system error of the movement accuracy of each set injector target, such as pitch accumulation error and reverse clearance error, can be systematically compensated. Only the random error can not be compensated. The repetitive positioning accuracy precisely reflects the comprehensive random error of the feed drive mechanism, which can not be compensated by the numerical control system. When it is found to be out of tolerance, the feed drive chain can only be precisely adjusted and corrected. Therefore, if it is allowed to select the machine tool, it is better to select the machine tool with high repetitive positioning accuracy.
 What is Reverse Engineering – Reverse Engineering Definitions, Purposes, Process & Steps | CNCLATHING
 Control Method Of Workpiece Thickness Of Grating Ruler And Tool Setter
 Application Of Error Compensation In Improving Machining Accuracy | CNCLATHING
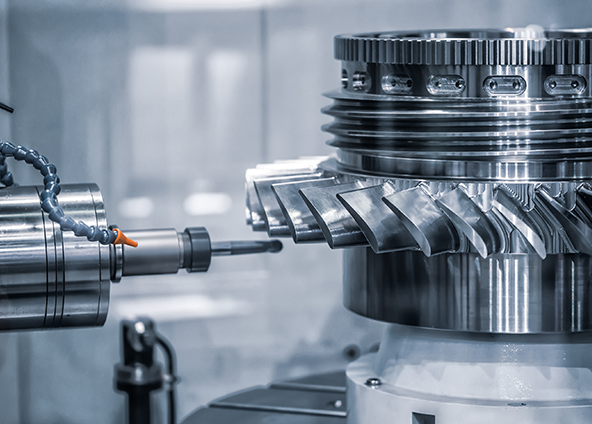 Error Compensation For Improving Machining Accuracy Of CNC Machine
 Haas G Codes & M Codes List for CNC Lathe and Mill – Haas & Fanuc G-Code and M-Code PDF Download| CNCLATHING
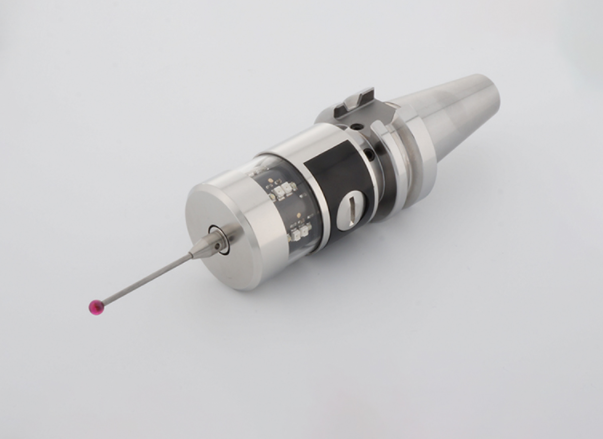 Installation Tips Of Workpiece Probe In CNC Machine | CNCLATHING
