- Home
- Machining techniques
- CNC Machining Services
- Cooperative supply services
- Designs
- Materials
- Finishing Services
- Shop
- Products
- Guide
- About Us
- Contact Us
2021.12.14
The probe is the signal switch for the measuring machine to contact the measured part. It is the key component of coordinate measuring machine. The accuracy of the probe determines the repeatability of the measuring machine. In addition, different functional probes need to be selected for measurement in different parts. In this article, we discuss what are probe selection skills for CNC machine.
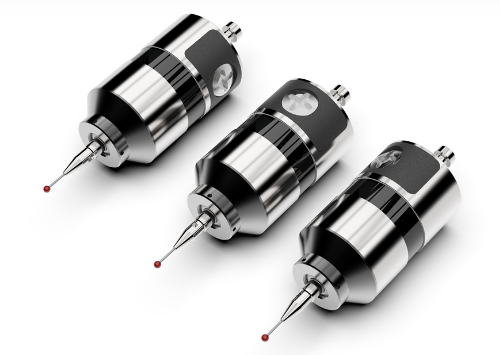
The probe can be divided into contact type and non-contact type (laser, etc.). At present, contact measurement and non-contact measurement are mainly used, and can be divided into switch type and scanning type. The test essence of the first two types of switches is to take zero switch to tp6 as an example. It is equivalent to three pairs of contacts in the circuit in series. When the measuring head produces displacement in any direction, no matter which contact, the circuit can disconnect the transmission count. The switch has the advantages of simple structure, long service life (106 ~ 107), good measurement repeatability (0.35 ~ 0.28M), low cost and fast measurement speed.
The scanning probe is basically equivalent to the differential inductance micrometer in the X, y and Z directions. The movement in the X, y and Z directions is supported by parallel springs in three directions and rotates without clearance. The offset of the probe is measured by linear inductance. Scanning probe is mainly used to measure complex curves and surfaces.
Non contact probe is mainly divided into laser scanning probe and video probe:
– Laser scanning probe is mainly used for non-contact measurement of soft materials or some characteristic surfaces. The probe is at a certain distance (e.g. 50mm) from the detection workpiece and at its focus! Measure within 5mm, and the sampling rate is more than 200 points / s. Through the average processing function of a large number of collected data, high accuracy is obtained.
– Video probe further improves the application of measuring machine, which makes many tasks that can not be completed by non-contact measurement in the past. Some such as printed circuit board, trigger, gasket or diameter less than 0.5 mm A 1mm hole can be measured with a video probe. The operator can enlarge the surface of the detected workpiece by more than 50 times, and use a standard or convertible lens to measure the small workpiece.
1. When is the trigger probe used?
– The part is concerned with size, spacing or position without emphasizing its shape error
– Or when you are sure that the processing equipment you use can process parts with good enough shape, and your attention is mainly focused on size and position accuracy, contact trigger measurement is appropriate, especially due to the measurement of discrete points;
– The trigger probe is faster than the scanning probe, and the volume of the trigger probe is small. When the measurement space is narrow, the probe is easy to approach the parts;
– Generally speaking, the use and maintenance cost of trigger probe is low. There are a large number of geometric measurement in the mechanical industry, which only focuses on the size and position of parts. Therefore, most measuring machines in the market, especially medium precision measuring machines, still use contact trigger probes.
2. When to use the scanning probe
Applied to the measurement of parts and profiles with shape requirements: the main advantage of scanning measurement is fast data acquisition speed. These data can not only determine the size and position of parts, but also accurately describe the shape and contour of multiple points, especially for parts with strict requirements on shape and contour. The shape of the part directly affects the performance When you are not sure whether the processing equipment you use can produce parts with good enough shape, and the shape error becomes the main problem, it is also suitable for high-precision measurement Scanning probe is a uniform force or constant force measuring point for measuring discrete points, with higher accuracy.
Since the scanning probe can directly judge the normal vector of the contact point, the scanning probe also has advantages in the measurement of discrete points in the case of strict positioning and directional measurement:
– When the contact probe can be applied, carefully select the non-contact probe.
– Select contact trigger probe as far as possible when only measuring size and position elements.
– Considering that the cost can meet the requirements, the contact trigger probe shall be selected as far as possible.
– Scanning probe shall be selected in case of high requirements for shape and contour accuracy.
– The scanning probe shall be capable of measuring discrete points.
– Consider the interchangeability of scanning probe and trigger probe.
– For the measurement of easily deformed parts, parts with low precision and parts requiring a large amount of data, non-contact probe can be considered;
– The matching of software and additional hardware shall be considered.
3. Advantages and disadvantages of scanning probe
Pros:
– Suitable for shape and profile measurement.
– High recovery rate.
– High density mining points ensure good repeatability and reproducibility.
– More advanced data processing capabilities.
Cons:
– It is more complicated than the trigger probe.
– The measurement of discrete points is slower than that of trigger probe.
– The dynamic error caused by acceleration during high-speed scanning is very large, which can not be ignored and must be compensated.
– Wear of the measuring tip must be noted.
4. Advantages and disadvantages of trigger probe
Pros:
– Suitable for measuring space prismatic objects and known surfaces.
– Strong versatility.
– There are many different types of trigger probes and accessories for use.
– Low procurement and operation cost.
– Simple application.
– Suitable for dimensional measurement and online applications.
– Strong and durable.
– Small size, easy to apply in narrow space.
– The dynamic performance of the measuring machine has little influence on the measurement accuracy because the measuring machine is running at a constant speed, straight line and low speed.
Cons:
– Low rate of measuring points.
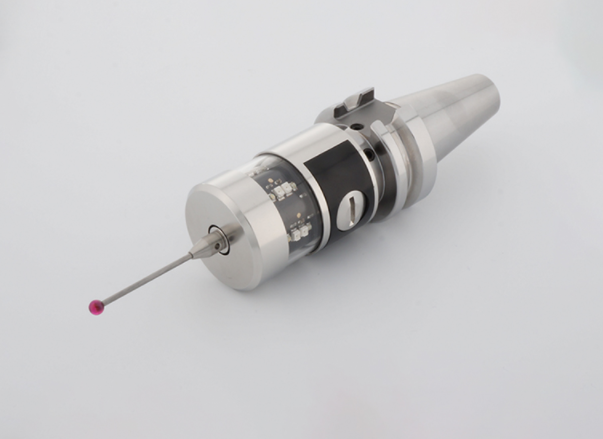 Installation Tips Of Workpiece Probe In CNC Machine | CNCLATHING
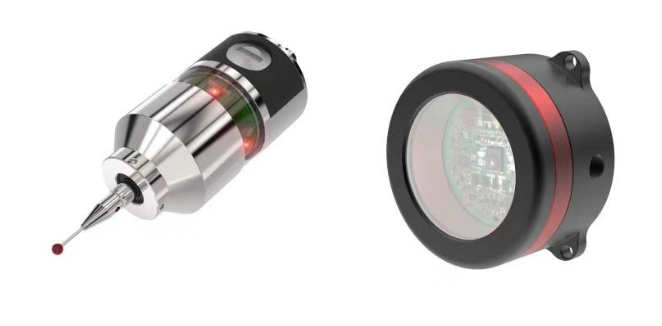 Method For Measuring Trigger Probe In 5 Axis Machining | CNCLATHING
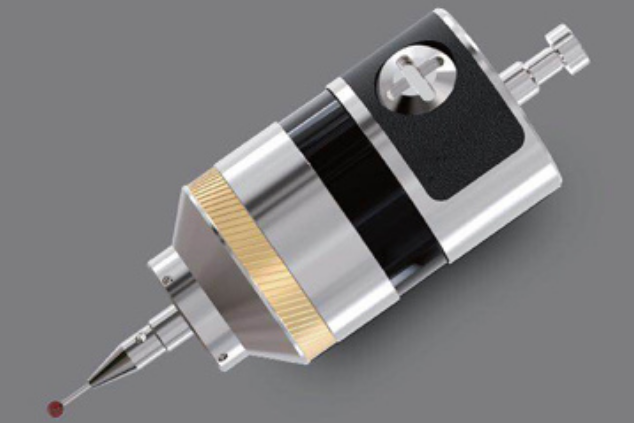 Why Do You Install Probe On CNC Machine – Function & Effect, Advantages Of Probe Installation
 Development Of On-Line Measurement In Wire EDM Machining
 Development And Application Of Intelligent Machine Probe | CNCLATHING
 What is Coordinate Measuring Machine: Types, Applications & How Does a CMM Machine Work | CNCLATHING
