- Home
- Machining techniques
- CNC Machining Services
- Cooperative supply services
- Designs
- Materials
- Finishing Services
- Shop
- Products
- Guide
- About Us
- Contact Us
2022.12.24
CNC lathe is mainly used to process shaft parts to drive gear, pulley, cam, connecting rod and other transmission parts to achieve torque and load transmission. The multi step supporting component is a coaxial rotating component, which includes the inner and outer circular surfaces, the conical outer circular surfaces, the inner holes, the tooth shaped threads and the corresponding end faces of the concentric cylindrical shaft. According to the shape of the machined parts, the multi stepped shafts for precision cnc parts processing can be divided into optical shafts, stepped shafts, hollow shafts, crankshafts, etc. The typical shaft parts dealt with in this guide are stepped shafts.
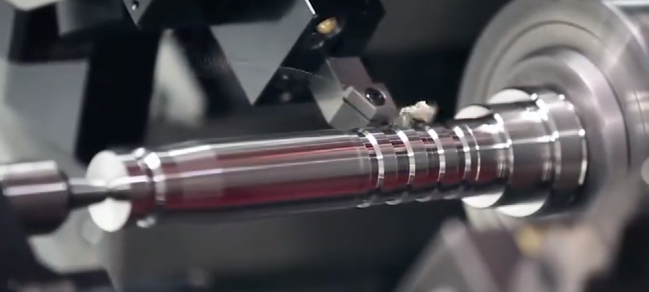
1. Selection of machining process for multi-layer precision CNC shaft parts
There are many kinds of processes for machining concentric cylinders, and the cnc machining process can be summarized into four kinds.
(1) Rough machining – semi finishing – finishing. For ordinary processing materials, this is one of the commonly used excircle processing processes; (2) Rough machining – semi precision – rough grinding – fine grinding; (3) Rough machining – semi finishing – finishing – diamond grinding. In non-ferrous metals, due to the high flexibility of non-ferrous metals, sand particles are easy to block holes, so the grinding process often fails to achieve the required accuracy; (4) Rough machining – semi finishing – rough grinding – grinding – polishing – polishing. It is generally suitable for hardening of high-precision ferrous materials.
2. Processing conditions for multi-layer precision CNC shaft parts
The journal surface of multi order shaft parts with size accuracy is generally divided into two types: one is the cylindrical journal matching the inner diameter of the bearing, that is, the supporting journal. The other is the journal engaged with various gears, that is, the fabricated journal. Its accuracy is slightly poor, generally IT6~IT9.
Roughness of the surface. The machined surface of a multi stepped shaft usually has a certain roughness, which depends on the difficulties and costs of the machining process.
1. Drilling technology for precision CNC parts processing
Three different drilling methods can be selected according to the machining needs of precision CNC parts.
The first scheme is: Drilling first, then installing a multi blade boring cutter after reaming, and chamfering after drilling. The boring of multi edge boring cutter is a floating structure, whose position is balanced by the cutting force generated by two symmetrical cutting edges.
(1) The blade with high machining quality can compensate for the adverse effects caused by deflection, while the wide polishing knife can reduce the roughness of the hole wall.
(2) High productivity, double edge operation at the same time, so the productivity is higher.
(3) The tool cost of the floating boring cutter is higher than that of the single edge boring cutter. The floating boring cutter is mainly used for precision machining of large diameter box shaped parts.
(4) There are high requirements for the machining performance of precision CNC parts. When two knives are used at the same time, the cutting force will be increased, but when the machining capacity of the machine tool is limited, the cutting vibration will be caused, which will affect the machining accuracy and roughness of the workpiece.
The second scheme: Arrange the coarse and fine boring cutters on the same boring bar to complete the remainder of the workpiece. In this process, two boring tools cannot work at the same time. This method can greatly reduce the cutting force, but the length of the drill is twice as long as the original, which requires higher strength and toughness. At the same time, two blades cannot be used at the same time, so that the working time of each machine tool will be doubled, thus affecting the working efficiency.
The third plan is to add another machine to the CNC machining factory, that is, add a semi finishing boring machine to complete the remaining parts. This method solves the processing efficiency, does not weaken the rigidity and strength of the boring bar, and does not generate large cutting force, but the processing cost is too high.
2. Dimensional analysis before thread machining
The thread processed by CNC lathe requires accurate analysis of the size of the workpiece, while the size calculation and analysis required for thread processing mainly include:
(1) Before thread processing, the material, rule, diameter, etc. of the original part. Consider tooth profile expansion when machining threads.
(2) The cutting amount of the cutting line. The feed amount of the thread can refer to the bottom diameter of the thread, that is, the feed position of the last thread cutter. Diameter of thread: large diameter – 2 times of tooth height; Tooth height=0. 54 P.
3. Program design of multi segment shaft thread
As far as the current machining conditions of machine tools are concerned, CNC lathes widely used in China usually adopt G32 linear cutting, G76 oblique cutting and G82 straight cutting. In practical application, the properties, roughness, regularity and process requirements of materials shall be fully considered to achieve high-precision products.
4. Comprehensive analysis of rough material processing by CNC machining manufacturers
The technological process of the product shall be strictly controlled, and each step of the product shall be comprehensively controlled, so that the product can meet the design requirements. During CNC turning, attention must be paid to:
(1) The shape of the part. When using manual program to realize turning, it is necessary to accurately calculate the coordinates of each node; When using computer programming, it is necessary to determine all geometric elements of the part shape. When analyzing the part drawing, attention shall be paid to:
① whether there are some necessary dimensions missing in the part drawing, so as to make its geometric conditions incomplete, thus affecting the product shape;
② Whether the line positioning and dimension identification in the part drawing are clear;
③ Whether the geometric conditions given in the part drawing are reasonable, which reduces the difficulty of calculation.
④ The dimensions on the part drawing shall be marked or the coordinates must be directly given on the same basis according to the processing characteristics of the NC machine tool.
(2) Analyze the dimensional accuracy requirements of product drawings, and convert some dimensions at the same time. When CNC lathe is used for workpiece processing, the intermediate value between the maximum and minimum dimensions is often used as the basis for programming.
(3) The need for shape and positioning accuracy. In order to accurately control the shape and position accuracy of the workpiece, special technical treatment must be carried out on the positioning and measuring datum of the workpiece according to various requirements during the processing.
CNC lathe processing methods and processing path determination methods are diverse and flexible. In the processing process, CNC machining manufacturers should conduct in-depth research according to the different processing goals.
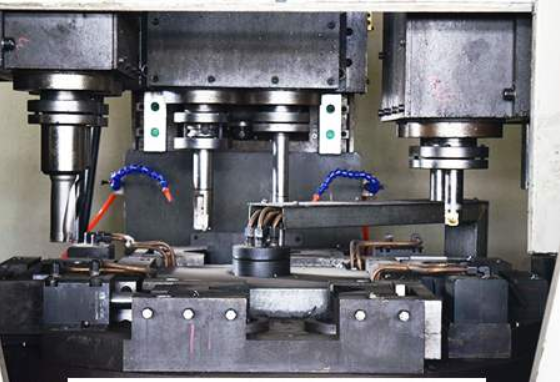 Guide to Boring Machining Process: Challenges, Tips and Methods of Boring Operation | CNCLATHING
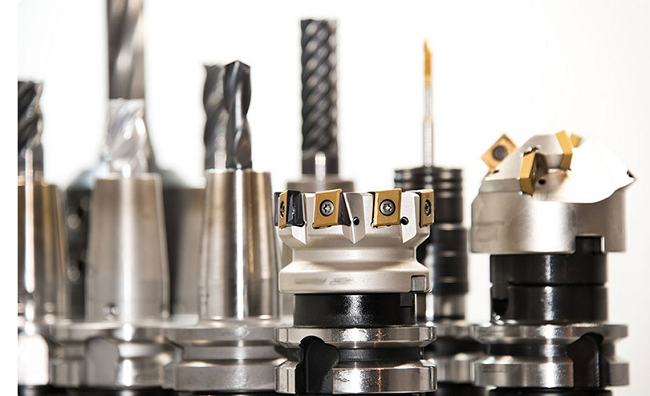 Top 12 CNC Machining & Programming Experiences | CNCLATHING
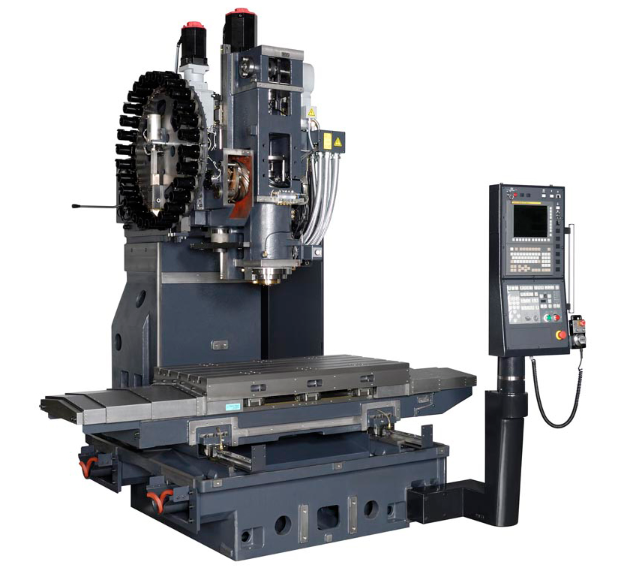 What is CNC Vertical Machining Center – VMC Machine Applications & Difference Between Horizontal Machining Center
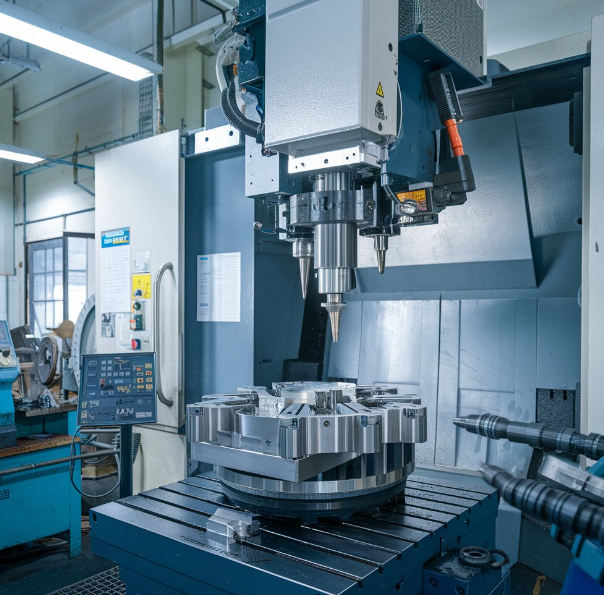 Why Choose China CNC Machining and How to Find the Best CNC Machining Manufacturer
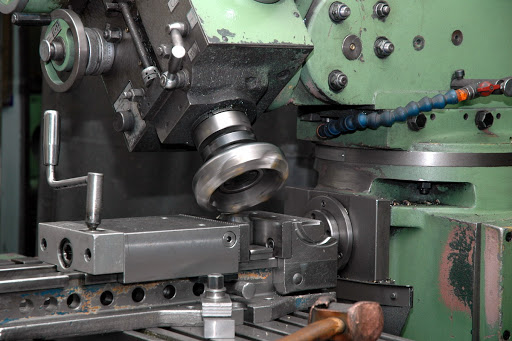 CNC Machining Vs Conventional Machining – Difference Between CNC Machining And Conventional Machining
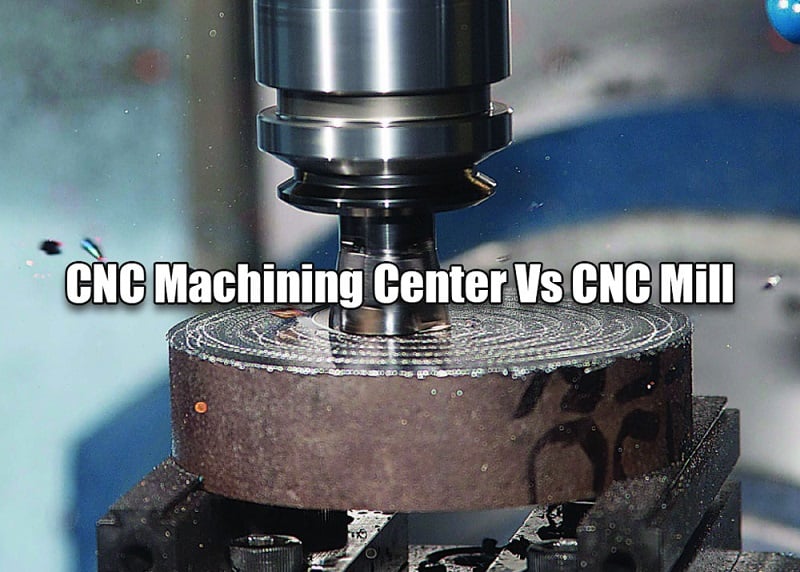 CNC Machining Center Vs CNC Mill – Difference Between Machining Center And Milling Machine In Programming
